

Working with Slicers
This page contains the following sections:
- Creating Slicers
- Removing Slicers
- Moving a Hierarchy from Slices to SubSet
- Slicer Examples and Slicer Placement within a Report
Creating Slicers
Slicers can be built in several ways within the Data Discovery tool.
From Hierarchies Panel
The user adds a hierarchy to the slice selection zone from the hierarchies panel. That hierarchy and its top level of elements is automatically represented on screen as a slice.
From Elements Panel
The user opens the elements panel for a hierarchy which is NOT already in ROWS or COLUMNS.
- If the user selects a single element, the hierarchy is automatically added to SubSet zone.
- If the user selects multiple elements, the hierarchy is automatically added to the slices zone.
Drag-and-Drop from Another Selection Zone
The user drags-and-drops a hierarchy from one of the other selection zones into the slices zone.
NOTE: For Story Board, slicers can be laid out very specifically using fixed positioning. For details, see Slicer Layout and Global Slicers.
Removing Slicers
A slicer can be removed from the slicer zone in several ways.
Select Single Element
The user opens the slicer's element tree and select a single element. The application will then automatically move the slicer from the slices zone to the subset zone.
Choose "Default"
Opening the elements panel for the hierarchy and selecting "Default" will remove the hierarchy from the selection panel altogether (does not apply to measures hierarchy).
Delete Key
Select the hierarchy in the slices zone and press Delete key.
Delete Command
Right-click the hierarchy in the slices zone and select Remove command.
Drag and Drop to Different Zone
Drag the hierarchy from the slices zone into a different zone.
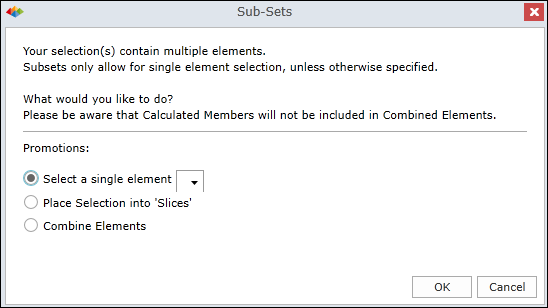
Moving a Hierarchy from Slices to SubSet
When moving a hierarchy from the slices zone to the subset zone, the system is confronted with a problem since the slices zone supports multiple selection while the subset zone supports single selection only. The user is prompted to make a choice, as shown below.
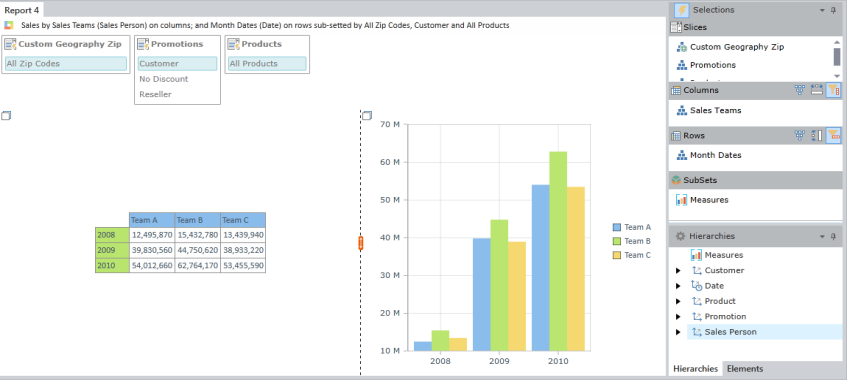
Slicer Examples and Slicer Placement within a Report
The following examples show how a basic slicer is built and how to place the slicer WITHIN the report (rather than in the gutters only)
| Step | Images and Effect |
|---|---|
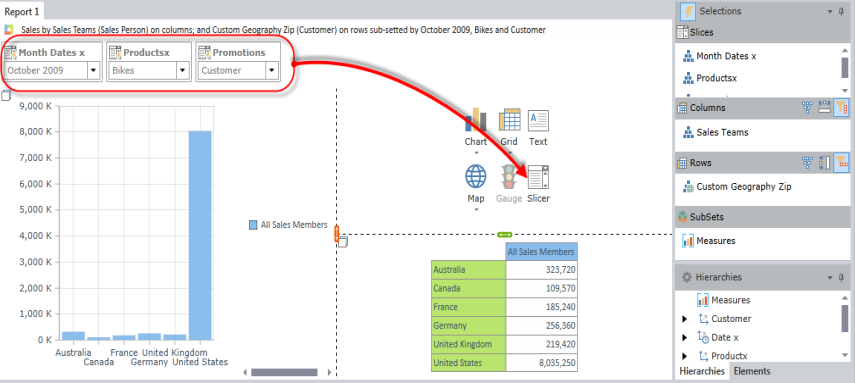
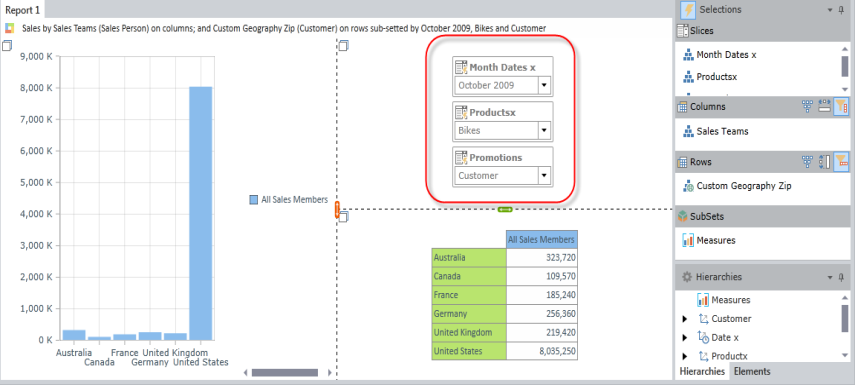
| Hierarchies added to the slicer zone in the selections panel, will show up as drop-downs in the default slicer position at the top of the report panel |
|
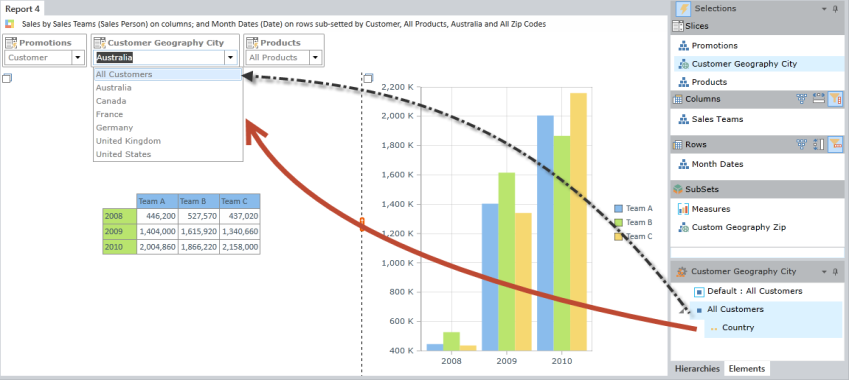
| Slicer lists can be made up using formulated lists from the element tree and using multiple levels from a given hierarchy |
|
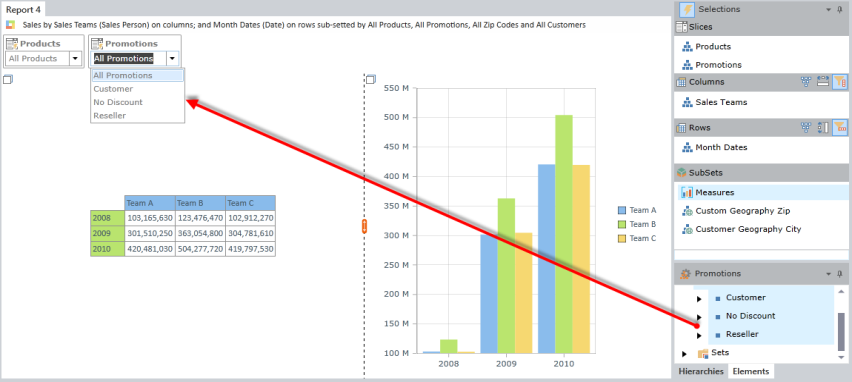
| Slicers can also be made up of manual element lists from multiple levels in a hierarchy. The order in which the elements are selected will determine their order in the drop-down. |
|
| To change the placement of the slicer's zone in the report panel, change the report layout from the home ribbon tab. Then click the slicer component button to place them into a specific position from their default position at the top of the screen. |
|
| Once within the report, slicers still work as normal, but can be easier to view - especially when there are many of them. |
|
See Also
Home |
Table of Contents |
Index |
User Community
Pyramid Analytics © 2011-2022